Welcome Offer: 15% Off
Your Favourite Products, Delivered to Your Door | One Marketplace for All Your Everyday Needs
Shop & Earn Coins
Secure Payments
SSL encrypted checkout
Fast Delivery
Delivered Across the UK
Trusted Shopping
Simple & Secure
Support Dropshipping /OEM
❤️ Shop with confidence—Money-back guarantee!
❤️ 1 year manufacturer warranty!
❤️ Fast Delivery—Ship out the item within 48 hours on Workdays!
❤️ Wholesale discounts—Buy more save more!
❤️ Fans coupon—Follow the store to get coupons and enjoy additional fan prices! Buy now enjoy extra Coin discount 2%.
❤️ Excellent Service —HELLO FACE team will handle all your questions within 24 working hours
Share the product link and picture to get a Surprise gift!
First share to your friend or social networking sites like Facebook, VK, Twitter, INS, Skype,Whaspp,etc.
Leave a message after ordering . contact customer service and send a share screenshot.


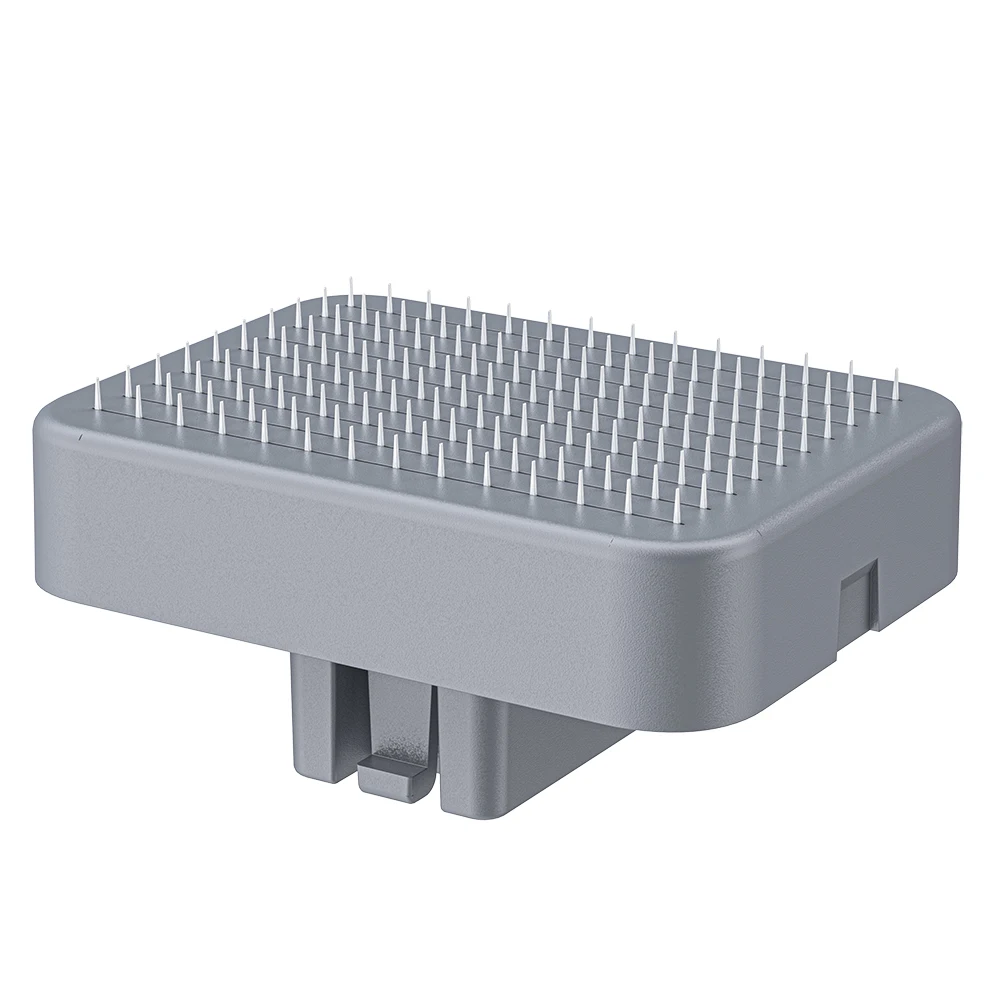
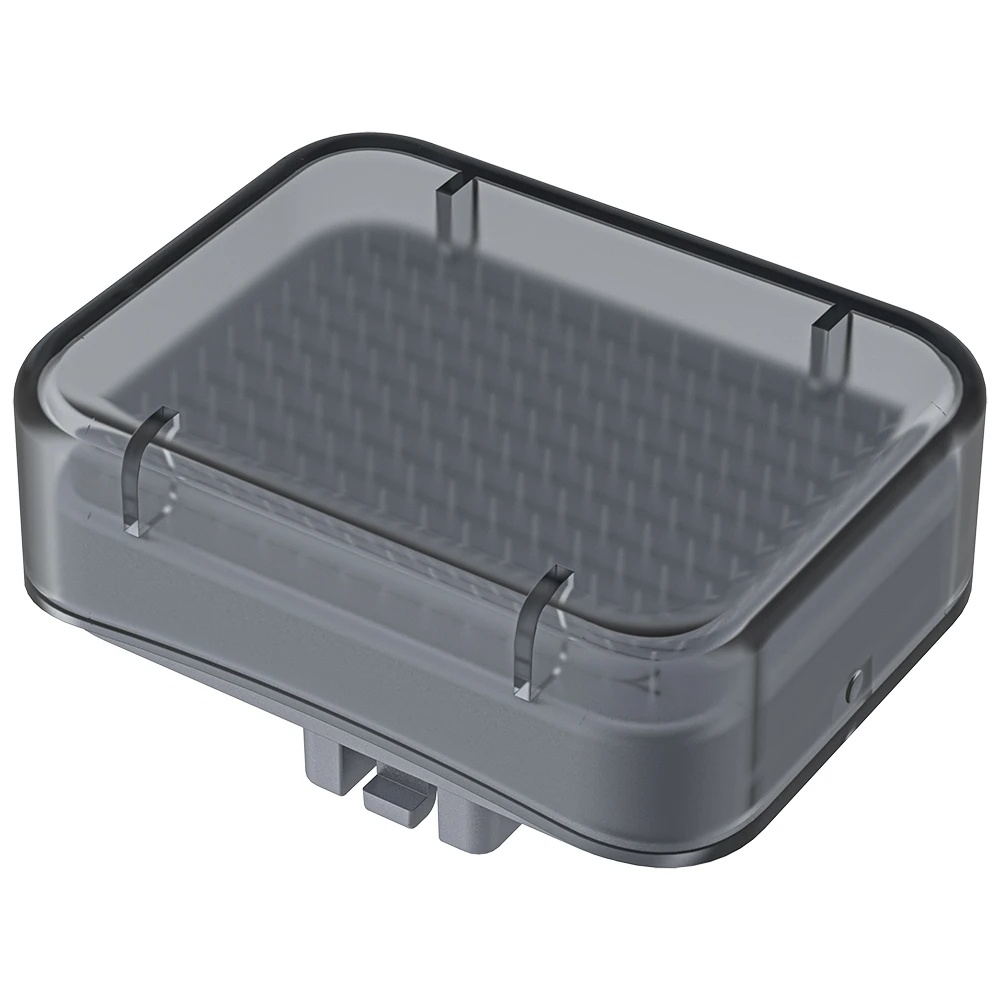
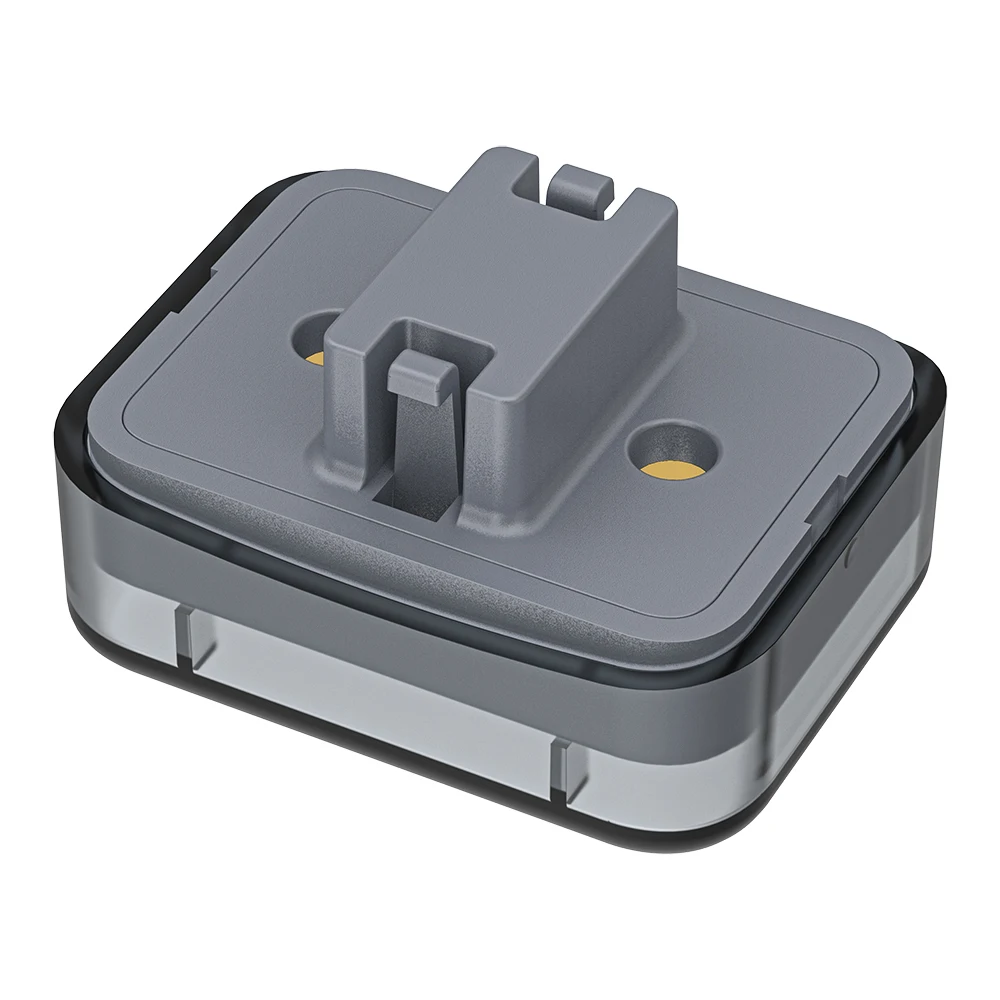
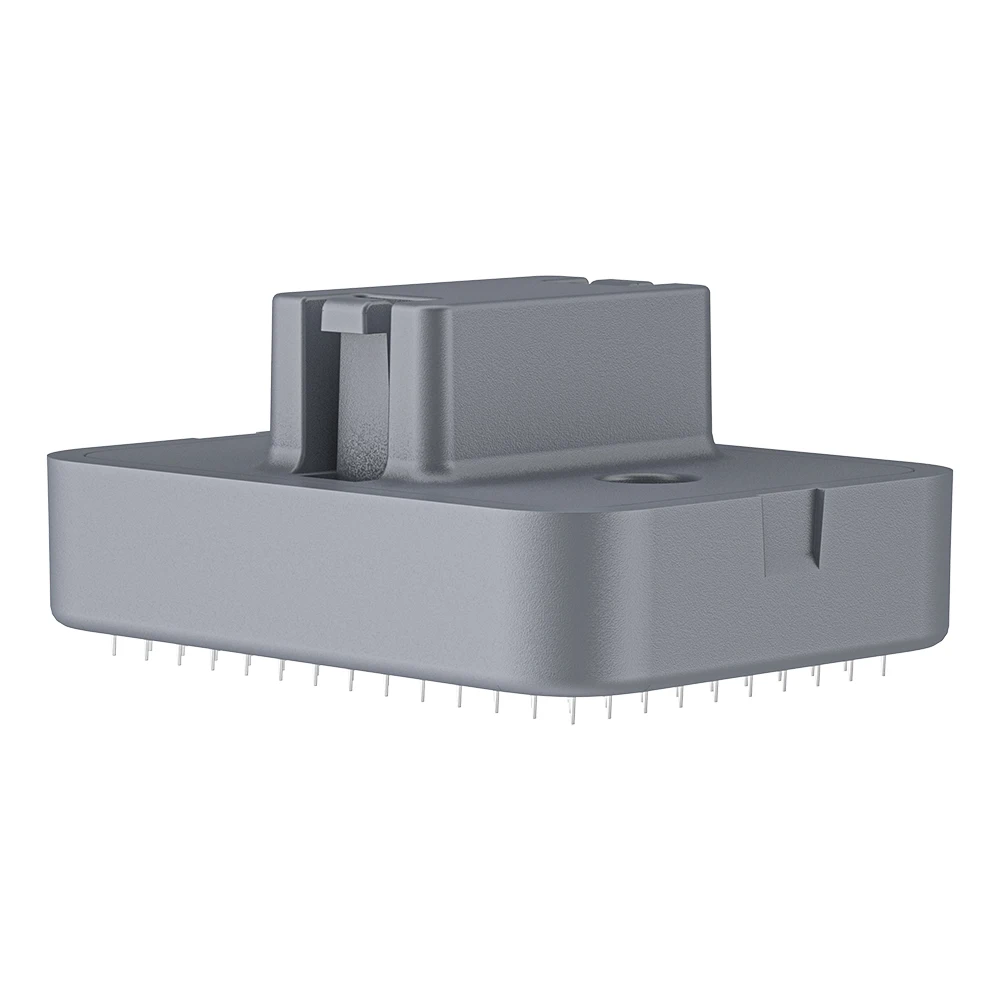
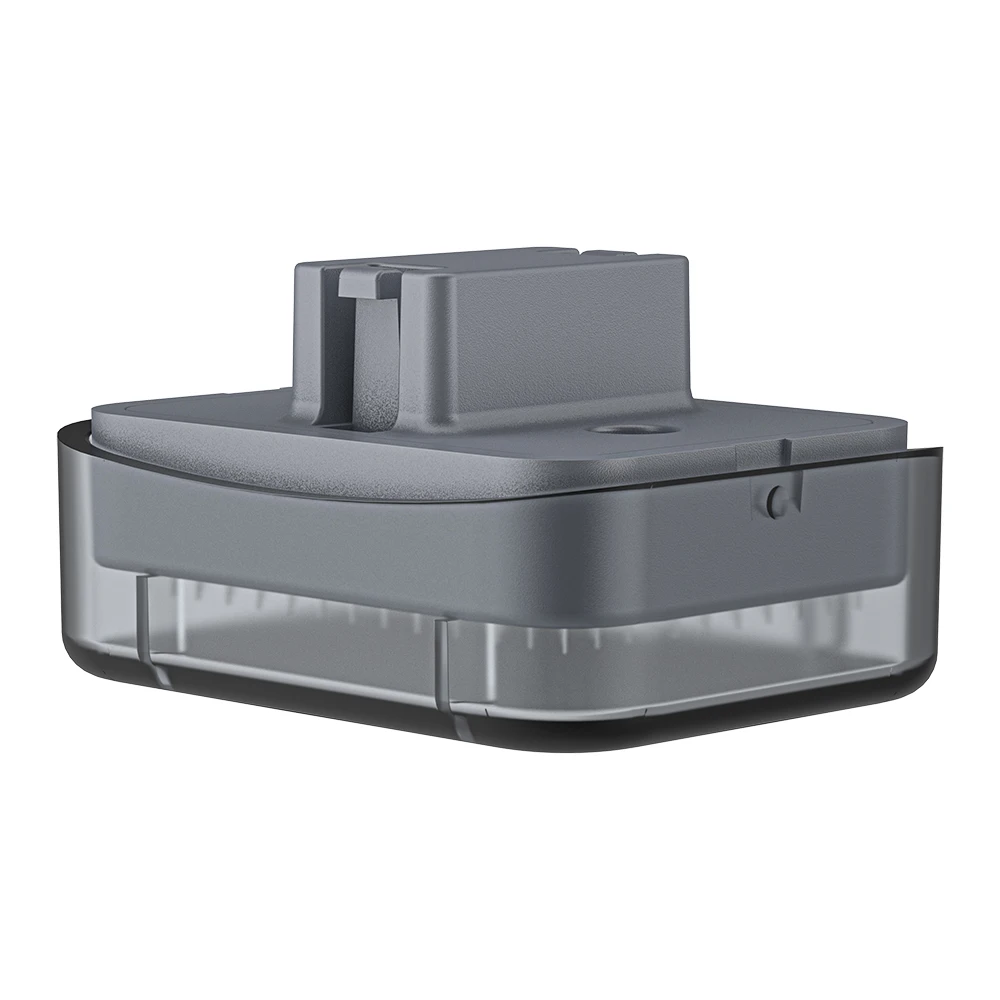
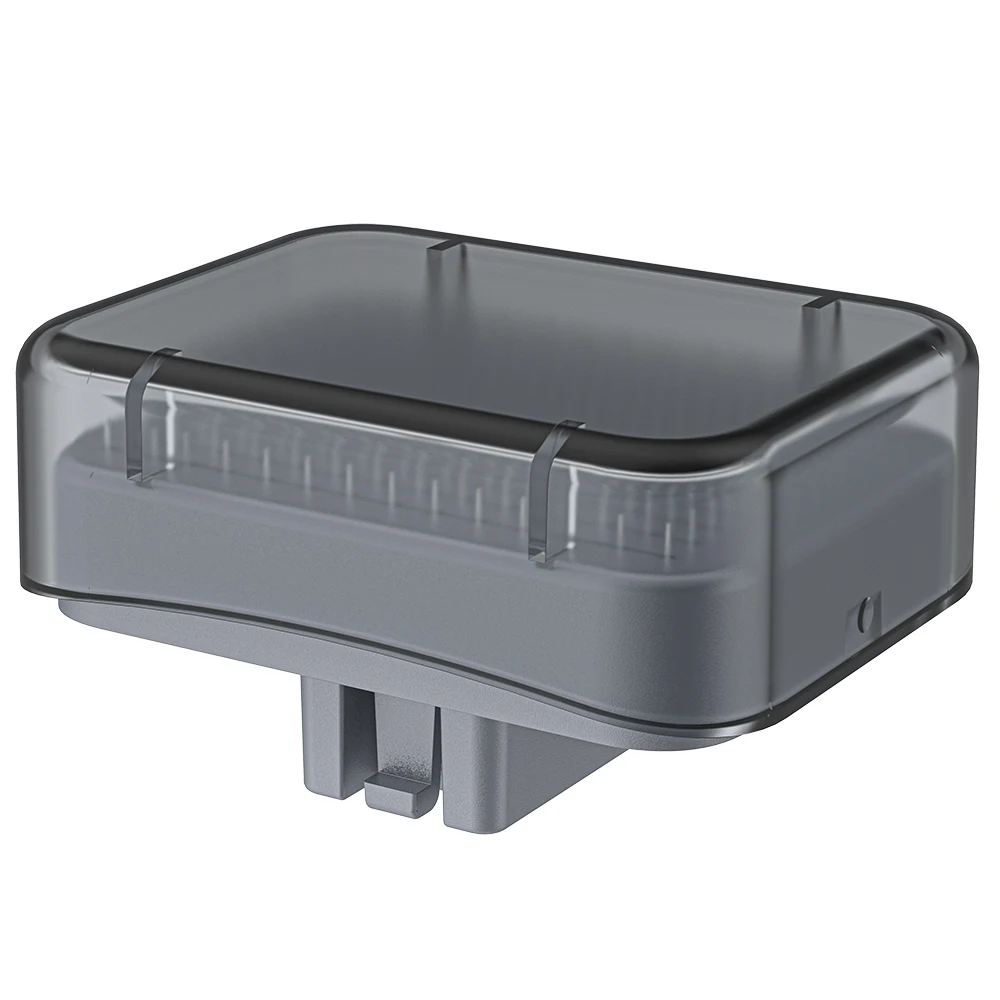
BIO6 needle head
5 PCS come in one size
✦ Designed for Real Life
💎
6 Interchangeable Heads for different scalp needs
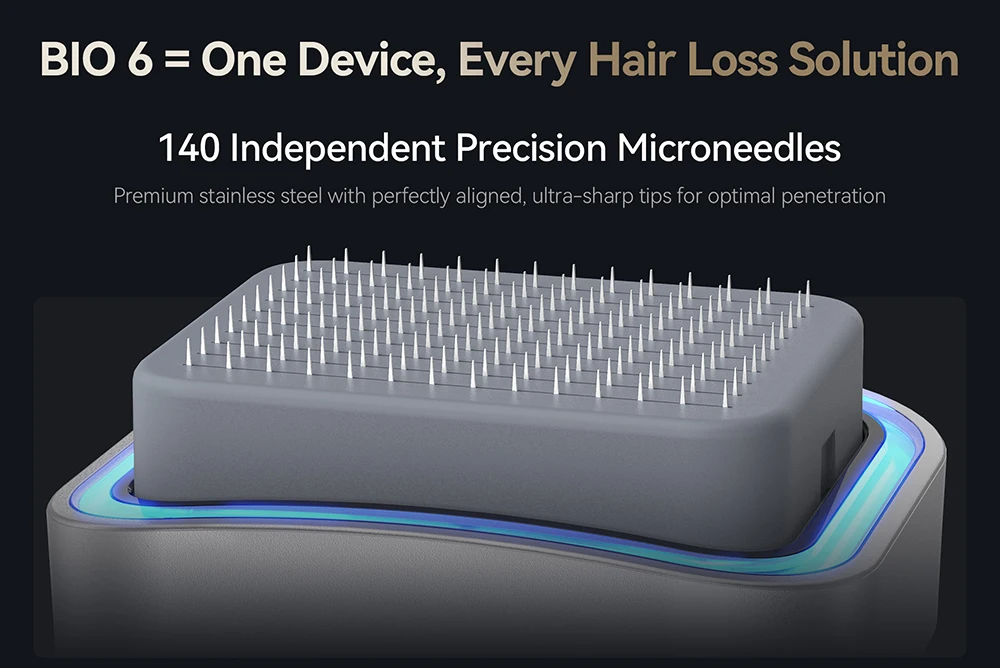
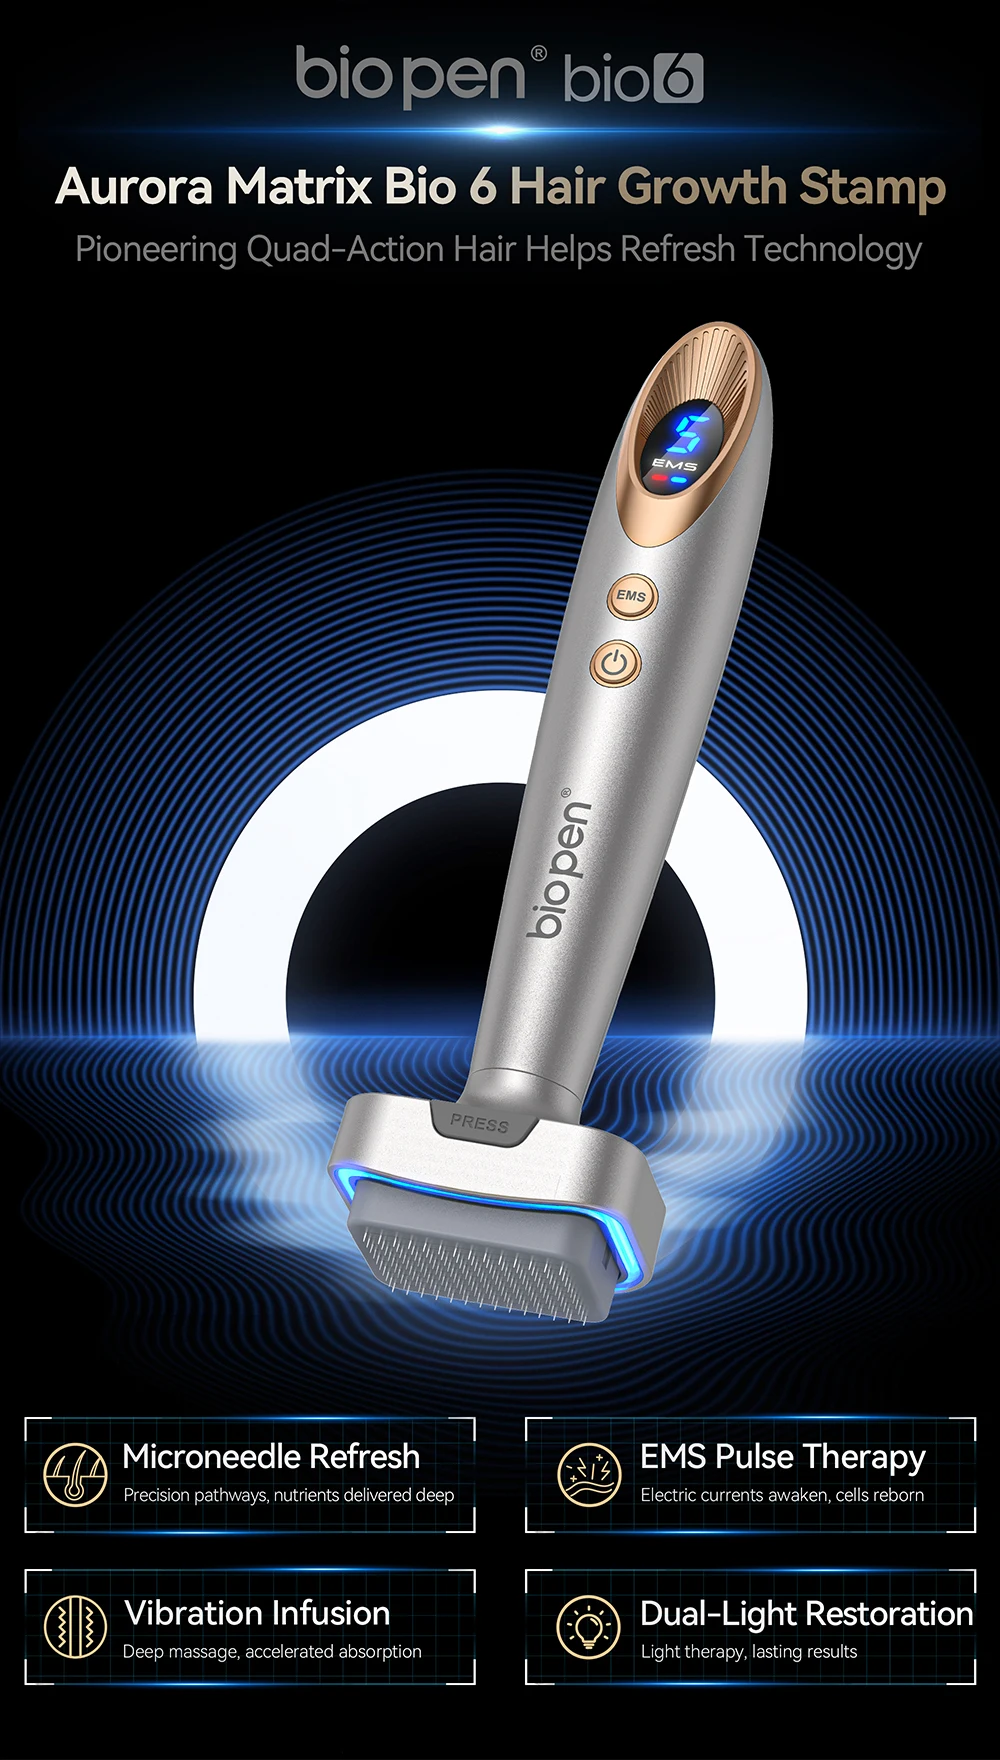
✨ This listing is for 5 Replacement Needles Only (Accessory Set). ✨⬇️Click the follow picture to order bio6 device⬇️⬇️
✦ Who Is It For?
✅ Career Professionals – Rebuild confidence with a restored hairline
✅ New Mothers – Combat postpartum hair loss safely
✅ Students – Reduce stress-related thinning
✅ Middle-Aged Men – Fight hereditary hair loss effectively

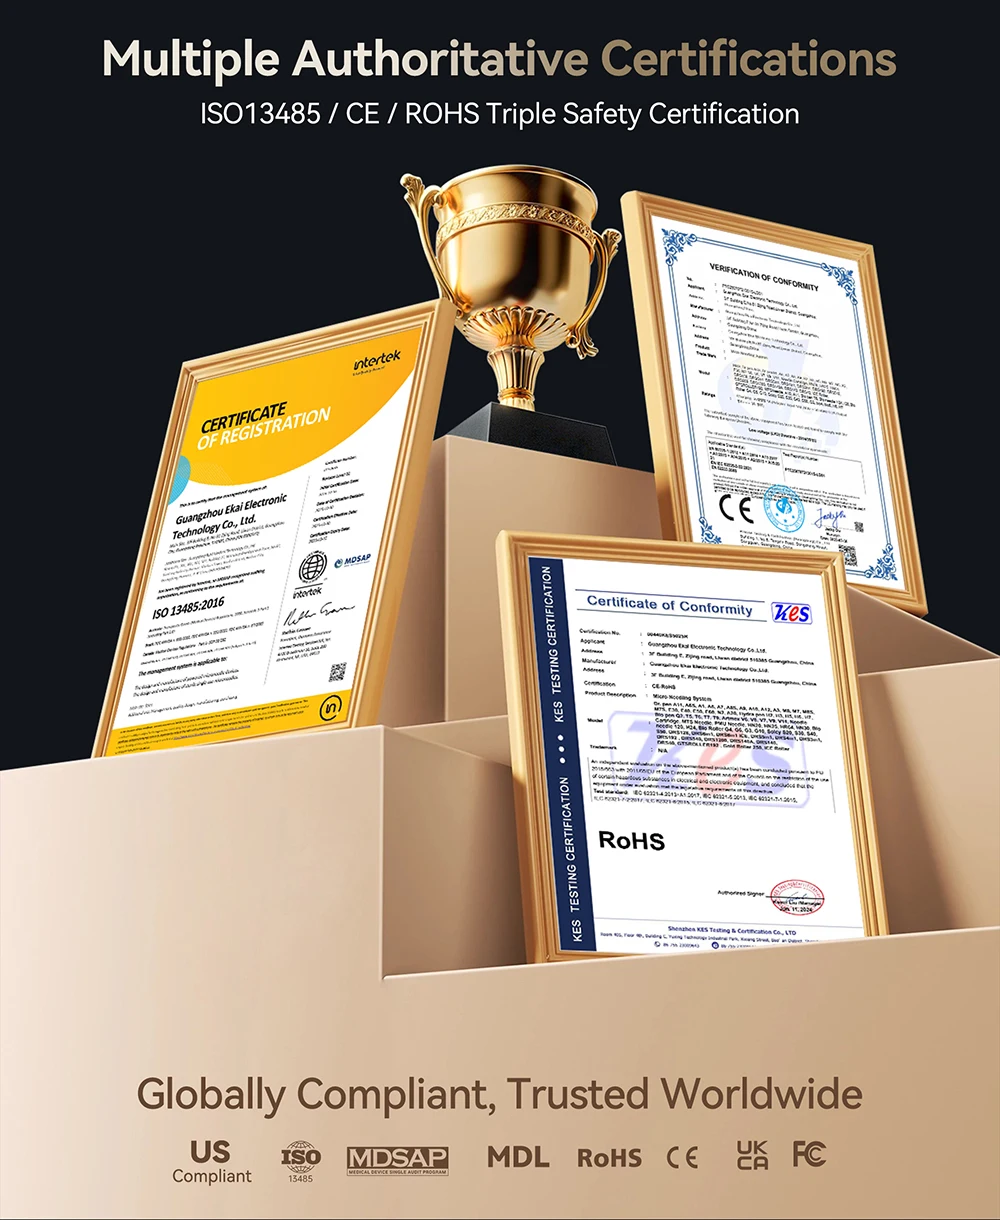
✦ Certified Safe & Trusted
ISO13485 / CE / RoHS / MDL / MDSAP Certified
Globally compliant, clinically inspired, trusted worldwide.
DO NOT USE
On open wounds
On acne or irritated skin
If irritation occurs
How to Use a Derma Stamp
Step 1: Choose and Set the Needle Depth
Select the needle length that suits your treatment area, then adjust the depth using the dial on your derma stamp.
Step 2: Disinfect Your Derma Stamp
Soak the derma stamp in 70% isopropyl alcohol for 5–10 minutes to sterilize it before use.
Step 3: Cleanse Your Skin
Double cleanse the skin, remove any makeup dirt and oil, then wash your face thoroughly with a gentle cleanser to ensure skin is clean. This helps reduce the risk of bacteria transferring to the skin during treatment.
Step 4: Begin Stamping
Gently press the derma stamp into the area you want to treat, working in small sections.
Do not overstamp the same area.
Apply a serum, suitable to target the skin concerns you wish to address.
Maintain a consistent pressure and pace for optimal results.
Step 5: Rinse Your Skin
After stamping, rinse the area with clean water.
Step 6: Apply Serum
Apply a serum to take advantage of the open micro-channels. Choose one that’s hydrating and soothing—hyaluronic acid is a great option. Lock in the skincare with a soothing sheet mask.
Step 7: Clean and Store the Derma Stamp
Wash the stamp with unscented soap.
Disinfect it again by soaking in 70% isopropyl alcohol for 10 minutes.
Dry and place it back in its case, storing it in a clean, dry area.
Step 8: Post-Treatment Skincare
Stick to a simple, soothing skincare routine after treatment:
Avoid harsh ingredients like retinoids, AHAs/BHAs, salicylic acid, or benzoyl peroxide.
Use a gentle cleanser and a nourishing moisturiser to support skin recovery.
Important Note:
Inspect the needles before each use. Replace the derma stamp once the needles feel dull—typically after around 10 uses.


Total
£33.59
